Accessing supercomputers like NERSC typically requires entering both a password and a one-time password (OTP) each time you log in or transfer data, which is annoying. Fortunately, NERSC offers a service called sshproxy, which facilitates the generation of a temporary SSH key file with a 24-hour validity. This method significantly reduces the need for frequent password entries.
Additionally, my friend Chang Liao provides an excellent solution for integrating the directories of NERSC (and other supercomputers) as a local network drive on Windows machines using sshfs-win and sshfs-win-manager. The following steps show how to set up this configuration:
1. Setup sshproxy for NERSC
This step is for NERSC only.
- Download
sshproxy.shfrom NERSC - Run this on local machine
./sshproxy.sh -p -u username. You will need to type thepassword + OTPget a key file in PuTTY compatible (.ppk) format. If on Windows machine, you need to run it in a Unix envorinment such asgit-bashorcygwin. The file (nersc.ppk) will be saved inC:\Users\username\.ssh. - I use WinSCP to connect to NERSC sometime. This file can be used as a Private key file for SSH authentication in WinSCP settings.
- I also use Xshell to connect. But Xshell can’t directly use the (.ppk) file. You need to convert it to an OpenSSH public key file using PuTTY Key Generator. The newly generated file can then be used by Xshell through Authentication settings.
2. Mapping remote directory on Windows machine
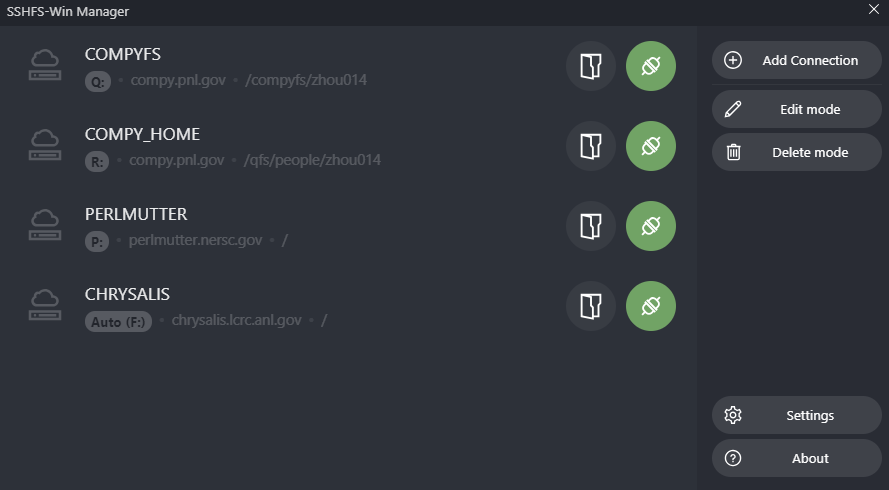
Once the SSH key is set up, go install sshfs-win and sshfs-win-manager. To mount NERSC driver, you need the OpenSSH public key file again. This sshfs-win-manager is just brillent. It offers a user-friendly interface allowing you to connect or disconnect drives at your convenience. It supports both password and key file authentication and allows you to assign specific drive letters to each mounted drive.
Loading comments...